
Channel Payments Manager (CPM) can be installed from Microsoft AppSource:
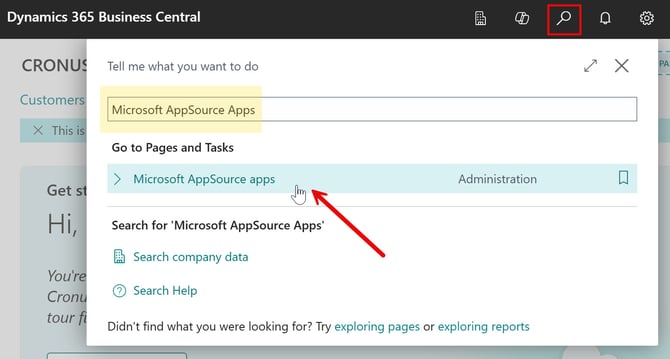
- Search for Microsoft AppSource Apps and select the related link
- Search for the Suite Engine product you want to install or filter by Publisher Name ("Suite Engine, LLC") to see all available Suite Engine products
- Select the product(s) you wish to install
- In the App overview window, click on Install App and then select Install on the "Install extension" popup confirmation window

Note: The installation may take a few moments to complete. Each CPMsolution is comprised of several extensions. You can find more information about the extensions and what they contain here.
After the installation is complete, you will need to complete a few other steps.
CPM Communication to the Platform (Sandbox only)
- Search for Extension Management and choose the related link
- On the Extension Management page, you will select each extension that has been installed for the CPM application. It is easiest to do this by sorting all Installed Extensions by Publisher and then navigate to the extensions with the "Suite Engine, LLC" publisher
- In the Extension Settings page, select the Allow HttpClientRequests check box
- Repeat this for all listed extensions with the "Suite Engine, LLC" publisher

Note: it is only necessary to enable this setting if you are working in a sandbox Business Central environment.
This setting can be turned off in your production environment.
Since sandboxes are typically created by making a copy of a production environment and then restoring it to a new sandbox, we strongly recommend keeping this setting disabled in your production environment to prevent the inadvertent sending of data to your live platform.
CPM Permission Sets
CPM includes out-of-the-box permission sets for each of the extensions.
In order to work with CPM functionality, it is necessary to assign these permission sets to your users.
The process of assigning CPM permissions is no different than the assignment of standard Business Central permission sets. For guidance on best practices for assigning permissions sets, please read through the Dynamics 365 Business Central permissions guide.
Ensure your users have permissions to the following elements by searching Business Central for Permission Sets:
-
SEN COMMON BASE
-
CSM CORE
- SENP CPM Objects
CPM Role Center (optional)
CPM provides a Role Center with content specific to CPM functionality.
It is recommended that this Role Center be enabled during installation for easy access to CPM windows. If the personal administering CPM for your business has other roles, then the role can be toggled back and forth or this step can be skipped.
- From within Business Central, click the Gear icon in the top right corner
- Click My Settings
- In the Role field, click the Ellipsis button and select CPM Administrator
- Click OK

Great! Now you have installed the Channel Payments Manager (CPM) extension and have performed the initial configuration steps.
➡️Next Step: Initial Setup